Thursday, December 05, 2019

Hood (part 3)

The hood has come back from the trimmers. There was a roll of Velcro in the pack which wasn’t there before. On closer inspection I noticed that the Velcro was just the hook part (there was no loop Velcro). Also I noticed that the hood fabric that went under the moulding, has been cut off! So a quick call was made to Andy at GD to find out what this was about.

Andy said that the fixing method had changed. He recommended that I applied adhesive to the moulding and let it go off. Then to stick the hook part of the Velcro to the moulding. The loop part of the Velcro is already sewn on to the hood fabric. Andy also sent through some photos of a hood fitted to a factory built car. These showed that in addition to the Velcro, two Tennex fasteners were used at the rear corners of the mouldings to help hold the hood in place. Andy sent through a couple of Tenax fasteners. Another photo showed where the other part of the hood press studs were fitted.

First the mouldings were removed from the car and the position of the Velcro was marked on the upstand of the mouldings and cut to length. The Velcro was positioned so that the very bottom edge of it was in line with the moulding’s lower edge. This makes sure that the piping on the hood fabric is a snug fit to the body. This area was rubbed down again to provide a key for the adhesive and masked off. The exposed part of the moulding upstands were spray painted to tidy them up a little (Andy also trims the ends of these with some leather). Once the paint was dry, the masking tape was removed and the adhesive was applied to the mouldings. When this had gone off, the hook side of the Velcro was applied to each of the mouldings and the moulding re-fitted to the car.

Next I applied some P shaped draught excluder to the underside of the two mouldings. This was to seal any gap and to stop the moulding scratching the car body (not in the GD instructions).

The hood fabric was warmed up on a radiator to make it more flexible to fit.

A bit of heat helps with the fabric fitting.
The centre of the hood fabric was found (mine had a central seam) and this was positioned to align with the centre of the car. The hood fabric was then attached to the car using the Velcro, stretching it to go around the moulding.

Fabric fixed to GRP with Velcro 
The inner flap near the doors do not reach the ends of the GRP - about 30mm short (so 20mm better than it was!). Andy says this is OK and this is why he finishes it off with some leather. So the fabric does not cover all of the GRP (see photos).

Near side flap is short of GRP end 
As above, but for the off-side
Next job, once I have thawed out, is to fix the hood fabric, press studs and the Tenaxfasteners. More on that later.

Friday, November 01, 2019

Update

Sorry I haven’t posted recently regarding the hood. This is because I could not stretch the fabric around the moulding no matter how much I tried or heated it. As a result and following a conversation with Andy at GD, the hood fabric has been sent back to the trimmers to ease the stitching holding the piping in place. This appeared to be stopping the fabric from stretching around the moulding and so it was about 50mm (2 inches) short at each side!

Saturday, October 26, 2019

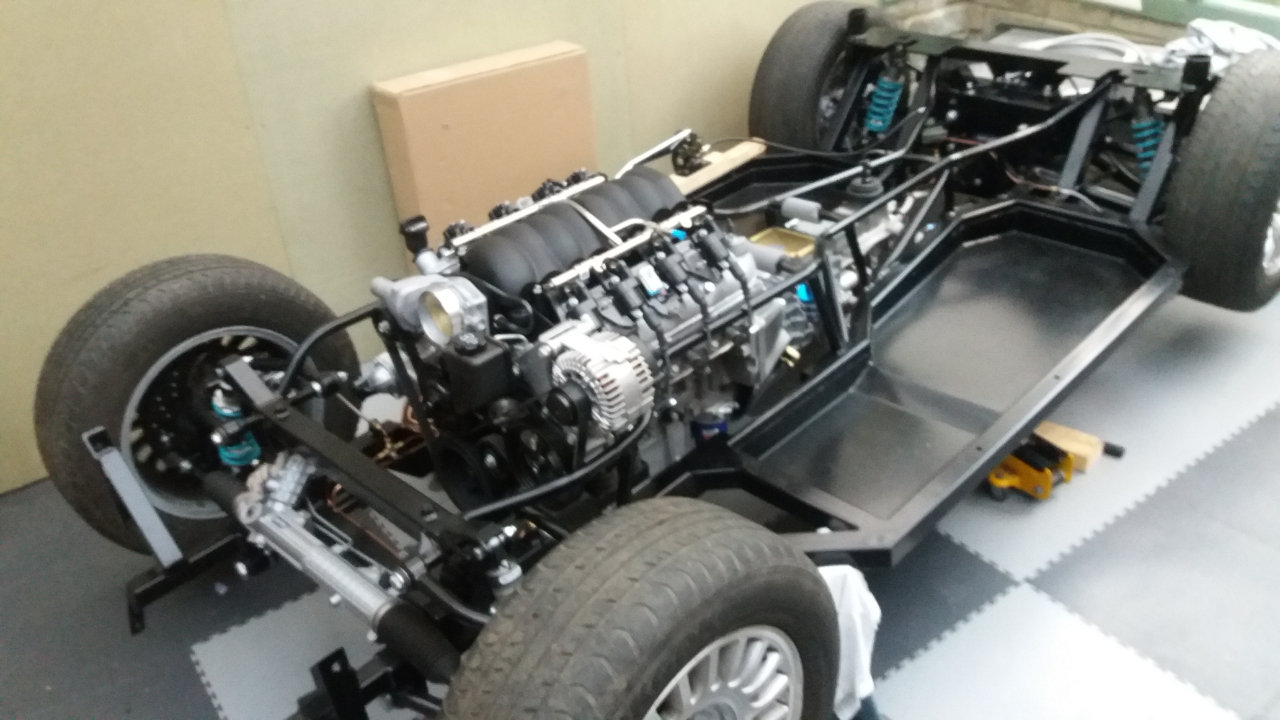
Engine in AK

Got an email from Terry, who is building an AK, asking if I would help install his engine. So a quick trip over to Pateley Bridge in the pouring rain.

His workshop is so tidy, made mine look positively bomb like!

So after a bit of prep, he shifted the engine hoist round to the front of the chassis.

Me stood with hands in pocket. Easy life!
After a few huffs and puffs and a few hours of pushing, pulling and lowering, the engine went in to place. Brilliant stuff!
Engine in place, just to tighten up mountings.
Terry thanked me for my help, but I seemed to be the king of standing around (see first photo for proof!).
Engine in place without the hoist.

Wednesday, October 02, 2019

Hood (part 2)


OK so I have fitted the bows to the screen in part1. So now it is time to move to the back of the car.

The GRP skirt moulding was in two parts (not one as stated in the instructions).

Mouldings may be one part or cut in two as mine was
 I applied plenty of masking tape where the moulding would fit to avoid any scratching of the body.

Masking tape applied to the body
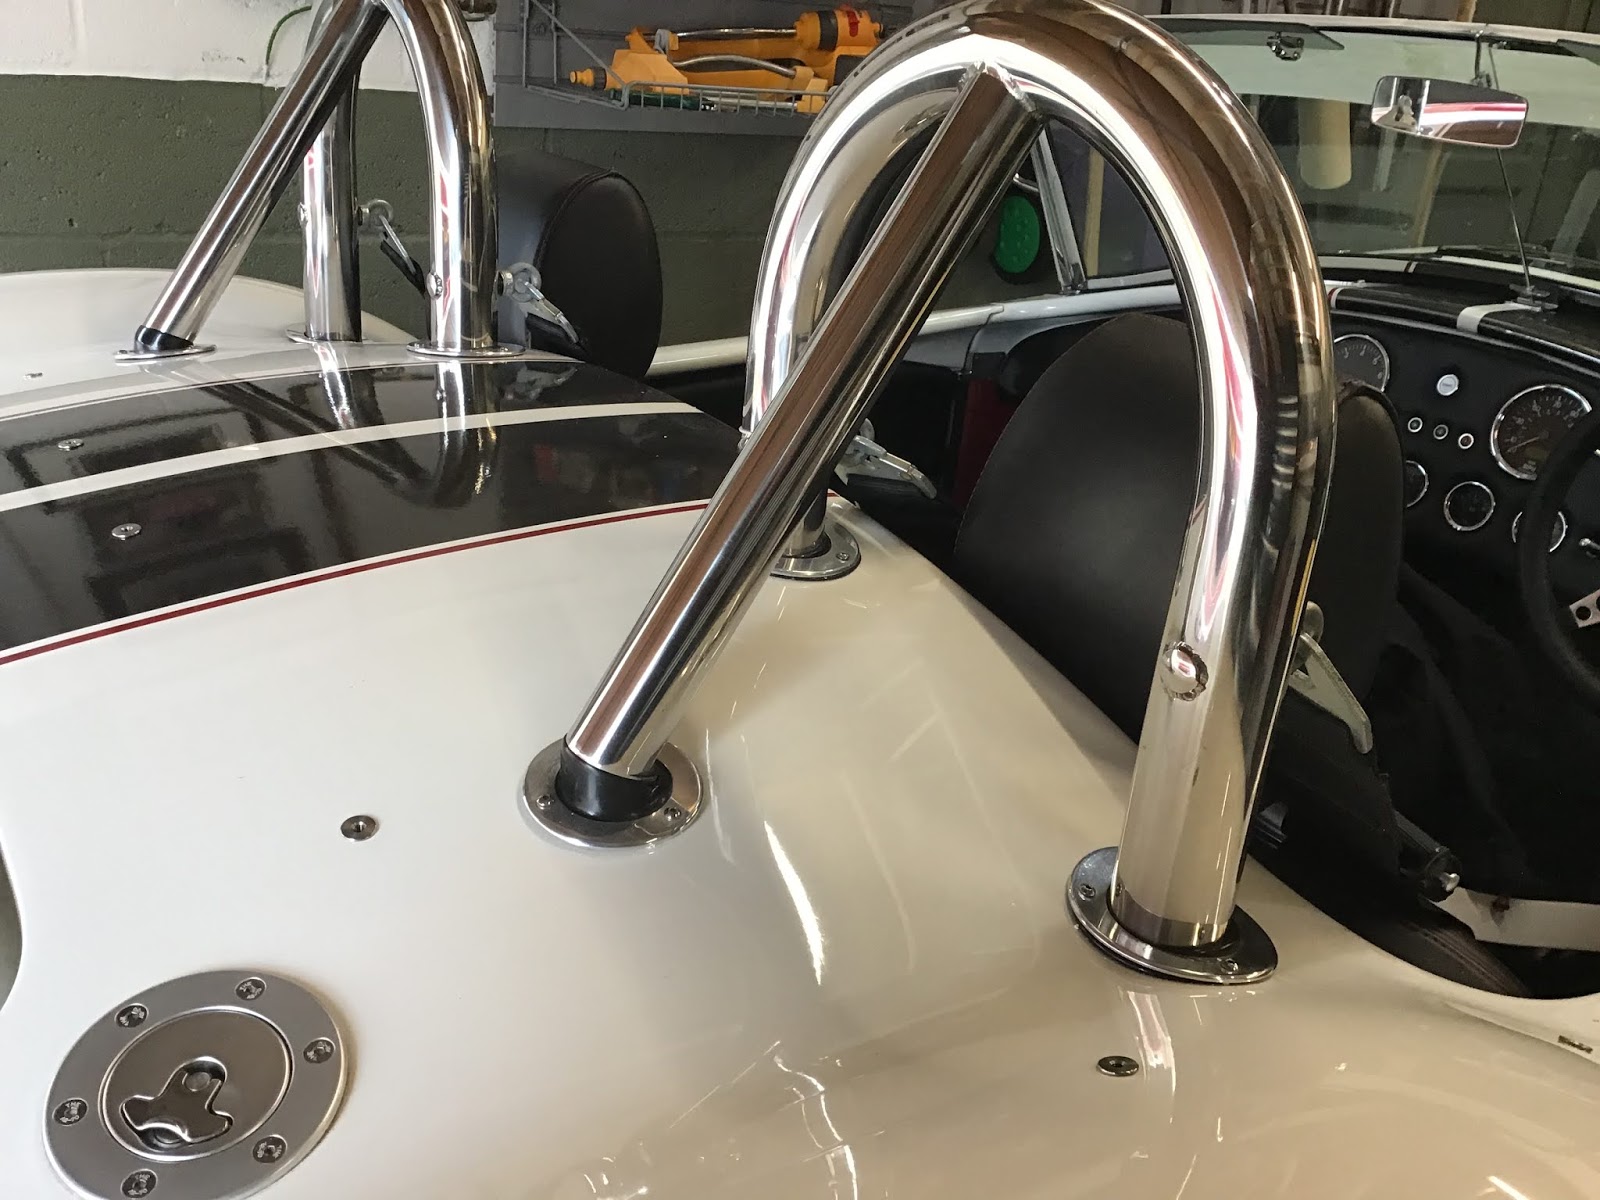
Next I drilled 8 pilot holes where indicated on the mouldings. I sanded the mouldings to remove any sharp edges and the hole marking 'pimples'.  Then the mouldings were lined up on the rear deck, so that the overhangs were tight up against each door reveal and the centre rear trailing edge was 60-65mm from the boot shut line. The mouldings were taped in place. Once in place, the pilot holes in the skirt moulding were used as a guide to drill through the body. These were then opened out to 8mm using a step drill bit. 

Mouldings held in place with masking tape prior to drilling
Holes drilled in body
The M8 thread inserts were fitted in to each hole in the body and secured from inside the boot and wheel arches with penny washers, shake proof washers and nuts.

Inserts fitted
The pilot holes in the mouldings were opened out to 6mm (allows clearance for the thumb screws). The mouldings were trial fitted using the thumb screws and the holes adjusted a little to fit. Once I knew they fitted, the skirt mouldings were removed and trimmed back 6mm from the door shut line and the rear was cut to the marks provided by GD (This is where you cut it in two if it is in one piece).

t was 
Rear of moulding cut to allow hood to fold
Then I fitted the two pivot brackets to the mouldings using the countersunk screws provided. The pin ends of the bracket face towards the inside of the car. The centre line of the bracket should be 30mm back from the door shut line and approx 30mm in from the cockpit roll edge. 

Pivot bracket in place
The hood frame was put together (it needed the inside of one of the frame legs reeming out a little) before fitting in place (note that the frame main legs are cranked so that the hood can lay back over the body).
Hood frame fitted
The next job is to start fitting the hood fabric.

Tuesday, October 01, 2019

Hood (part 1)

I removed the existing ‘wind wings’ from the screen stanchions to get them out of the way, keeping the hinges and fixings for later use on the side screens.

The two over-centre catch ‘keepers’ were fitted to each side of the screen (with the short countersunk screws supplied) using the two pre-tapped holes just above the top hole position of the wind wing hinge (don’t use longer screws or you may damage the screen). The keepers, and not the catches as stated in the instructions, fit to the screen stanchions.

Keeper fitted to stachion.
Make sure that the sun visor mountings are pointing down (I had put mine on facing up to gain height), if you want the bows to fit!

The sun visor bracket now points down (the correct way)
The two hood bows were trial fitted along the top of the screen, with the locating pegs towards the centre (they will only go on one way). The driver’s side bow was a very poor fit at the end, so needed quite a lot of time spent fettling and repainting to make it acceptable.

Bow side was poorly bent, so had to be reshaped for a better fit
Once this was done, the holes for the over-centre catches were then marked on to the ends of the bows, whilst the catches were in the closed position (not easy as the holes get covered by part of the catch!). The bows were removed and drilled with 2.3mm holes. The over-centre catch holes needed opening out a little to take the rivets. These were then fixed with the pop rivets supplied. The pop rivets were fixed from the outside of each bow. The backs protruded towards the screen surround, so were peened on the inside to reduce their height and any sharp edges removed.

Catch in place
Next I applied masking tape to the top of the glass and the front face of the chrome screen surround. This should help protect it from glue at a later stage. I marked the centre of the screen for later use too.

Screen taped and centre marked
On each bow I marked a line 4” (100 mm) from the bottom edge of the bow outside edge (the bit that goes down to the new keeper). The front face of each bow was then lightly sanded from the centre to the marked line. The un-sanded section will be seen when the hood is fitted, so this was not rubbed down. If you sand beyond this point, then you will need to re-paint this section of the bow.

Now for a cup of tea and a rest, before I tackle the next stage. Needed at my age!

Friday, September 27, 2019

Hood arrived

Hood bits arrived today.

Clockwise from top left: hood, ‘rough-cut’ side screens, hood bows,
GRP  sections for rear, hood frames, window seal, fixings.
These are the bits I bought. The side screens are described as rough-cut, but are straight Perspex with indicative instructions written on. The GRP pieces also have instructions written on them. Fitting instructions were sent separately by email. All looks straight forward .... famous last words.

Now it’s just to fit!

Thursday, September 19, 2019

Hood ordered

After many month’s of struggling to get weather gear. I have finally been able to place an order with GD for a hood. In total the full soft top kit is a staggering £1,700, plus delivery, no doubt plus glues and some other tools as well. I had expected more like £1,000! The reason I have decided to buy it is to make the car more usable, since I have only done around 2,500 miles in two and a half years!

The hood is a fold down type, so it can stay on the car when not up.

The kit comprises:
  • Black fabric hood
  • Hood frame
  • Rod ends and linkages
  • Over centre catches
  • Bows to attach to screen
  • GRP surround
  • Fixings etc
Included in the price above are Perspex side screens, rubber seals, catches and hinges. I have only ordered the side screens and rubber seals at this point, in addition to the hood kit. The hinges will come from the wind wings and I will decide what to do about the catches once I can assess what is needed to secure the screens when used with the hood down.

The side screens are essential, if you are to ride without significant buffeting from the moving air and whining from the misses i.e. anything above 50 mph. The hood makes a few days away from home a possibility in the UK, without constantly looking at the weather forecast app. on your phone and hoping that it is going to be right. Apparently, it also helps to stop the wind attacking you from behind, even when it is down.

The hardtop would be more weather proof, but once on and driving you can’t take it off when the sun (that thing in the sky that you can occasionally see in the UK) comes out.

An optional hood bag is available at £330 - gulp - which I won’t be getting!