Sunday, August 09, 2015

Doors fitted. Finally!

The gel and adhesive overrun was carefully removed from the bonded hinge fixing posts. The hinges were then fitted - two to each side. I filed the edges all around each door. I'll come back to the awful line along the door inner top edge and the gel coating later (you can see the grey line if you look carefully at the next photo).

The doors were offered up to the hinges and the slots marked in pencil. On a soft surface, I then marked up the hole positions using the correct handed anti-intrusion bar as a template. 14mm holes were then drilled using a step drill bit (you can drill up to 20mm holes if you have a big enough step drill). This gives a nice clean hole cut, but care is needed not to go through to the outer door skin (a block of wood would be prudent!). A section of the inner door was cut away (see photo below) for the remote opening mechanism to bolt in to place on the welded and tapped tags.

The hinges were fitted to the hinge mounting plate. The door was then bolted to the metal work (hinges and anti-intrusion bars). I thought that one of the holes was not fully tapped and then realised that the anti-intrusion bar was not fully extended, so it had blocked the tapped hole :) The hinges and anti-intrusion bar sandwich the inner door skin.
The hinges and anti-intrusion bar (sorry about the bike helmet which appears to be on the door!)
The door was adjusted by the bolts that fix the hinge to the anti-intrusion bar and by moving the hinge mounting plate. I had to remove some GRP from the holes in the door and a small amount from the scuttle area where the top of the door closes to allow for adjustment and closure. As both the hinge mounting and the hinges can be adjusted, there is no need for packing out.

Once the doors were fitted and roughly aligned, I had to fit the latches. Neither the leaflet in the latch pack or the build notes were a lot of help here and there were no holes or cut out markings on the doors. Keith Akerman kindly sent me some photos of the latch fitted to his car, along with measurements, so this made the job much easier/possible.
Mine doors had no markings.
Holes were marked using the opposite side latch, then drilled and an 'L' shaped slot was cut out and filed for the remote mechanism.
Holes and slot cut in door.
I fed the long arm of the remote opening mechanism between the inner and outer skin of the door. This allows the remote arm to be attached to the latch. The latch is bolted through the door skin to the end of the anti-intrusion bar. Then I fitted the triangular part to the pre-tapped lugs on the anti-intrusion bar and fitted the door handle. At this point the latch mechanism should work.
Latch fitted
The first door (passenger) took some 15 hours to fit. The second door less than 1 hour! The passenger door latch would not return to the closed position. I removed it countless times to enlarge the holes so that there was no fouling. It still did not work properly. After a lot of head scratching I noticed that some of the pink adhesive had formed inside the top of the door (concealed) and was rubbing against the remote door opening bar. After some careful tapping with the blunt end of a file the offending adhesive was removed. The assembly was put together yet again and it worked!

Although I was only trial fitting, this was quite time consuming. However, I took the view that if I couldn't get the gaps and mechanism working right now I would struggle later.
Door fitted with consistent gap and the latch works!
Before I put the parts away for painting, I marked up the metal work with file marks, so that once painted they would all go back in the same place. I used one file mark for all left hand parts and two for all right hand. The lower hinges were marked on their lower side and the upper hinges on, errrr the upper side! I also marked the position of the hinge mounting plate on the bonded hinge fixing post with a pencil so that I knew exactly where it fit.

The whole job took me around 16 hours in total! Normally it should take a lot less. But as it is something everyone could see or use when the car is complete, I thought that it was important to get it right.

Thursday, August 06, 2015

White stripes! Flash lines and doors

Well I was warned by Keith Townsend's Cobra build blog (see link on right). Using a polishing machine, Farecla and a fine spray of water, I managed to create a white stripe down my blue overalls and along the garage floor. Oh well, it's all part of life's rich tapestry as they say! 
White stripe from waste to shoe!
As you can see I was impatient and wanted to see if I had fully removed the flash lines. I had! Below is the off side front wing, with a nice deep shine after only using G6 Farecla.
No sign of the flash line thank goodness.
Next I turned to the door fitting. The holes were pre-marked by GD, so were cut out with the Dremel and electric drill.
The holes cut for the hinges. Once the GRP was removed, the hole was filed out.
The video GD Cars provided shows the hinges being fed in from the inside of the car. I didn't do this, instead I fitted the hinge mounting plate first on to the bonded-in post, then fed the hinges through the holes from the outside.
The hinge mounting plate from the inside
Next I assembled the door metal work. This includes the hinges, intrusion bar, the remote opening mechanism and the lock. I will either paint or have the parts powder coated once I know that they fit. A bag of assorted nuts, bolts and washers was supplied by GD Cars. Whether I have used the correct ones, only time will tell.
Door metal work trial fitted
So the next job is trial fitting the doors and getting them aligned.

Wednesday, August 05, 2015

Flash lines

Well all the body flash lines are sorted (at least in theory!). It has taken about 20 hours of work, but it is quite satisfying, if physical work. Although it is not difficult if care is taken.

There are some bits of gel coating to do, where I have exposed the grey GRP below the white top coat. The main areas are the joints on the wheel arches and boot. See below. These will need taking back a little with the Dremel, before gel coating.
Exposed grey GRP
Some small brush hairs from the laying up process have been exposed in the gel coat too. These have been rubbed out, but over the near side rear wheel arch this has allowed the grey GRP to show through. According to Andy at GD Cars I can apply a couple of coats of gel directly to the area, as long as the surface is adequately keyed (ideally with P800 wet or dry).
If you look carefully you can see the grey through the gel coat at the top of the arch
I intend to try some gel coating to cover up the imperfections next. The doors, bonnet and boot are still to rub down, but these will be prepared after I have trial fitted the items.

Saturday, August 01, 2015

Cobra body preparation - flash lines

Now this was a job that I was not looking forward to having read a number of blogs. However, it has turned out better and easier than expected. First I tackled the rear off-side. Why? Because others had done that! Saves making a decision .....

Having talked to Andy at GD Sports Cars, I was armed with a number of tips. So here's what I did.

I masked off the flash line leaving about half an inch either side. I then used masking tape to cover up most of the hand file, leaving only half an inch or so exposed. The flash line was then filed down very carefully in the direction of the flash line (horizontally). The masking tape thickness made sure that I didn't mark the body.

Panel masked off - area to rub down is between to tape lines
I then made a small block from wood and using P400 wet or dry paper, I gently rubbed down the line using plenty of soapy water, again going in the direction of the flash line only (horizontally). I used 3M wet or dry as recommended by Ryan (see his blog linked on the right), as it is more consistent and less likely to create deep scratches, although it is more expensive and harder to get hold of.

The masking tape was removed and some new tape applied half an inch further out. A new sanding 'block' was then made of high density foam (GD recommend a piece of rubber belt).

The wooden block on the right and the high density foam on the left
The area was then rubbed down at 45 degrees to the flash line using P800 wet or dry using plenty of soapy water. The process was repeated going at 45 degrees to the flash line the other way. Then I rubbed down horizontally.

Finally the masking tape was removed and the area was blended in using P1200 wet or dry, plenty of soapy water and a cork sanding block. I rubbed down at 45 degrees to the flash line, then 90 degrees (vertically) and finally horizontally. I was reminded by Andy that the body was very curvy, so I should not create any flat areas.
The finished panel prior to polishing
The whole thing took just 45 minutes. Very satisfying! Now the area just needs buffing with the polishing machine and Farecla. So if this is a good example, then the job may not be too difficult.

Thursday, July 30, 2015

First day in the garage!

Thought that I had better tidy up a little, so that I could find things ...... some hope! So some parts were put on shelves and others in the car body.

Once things were out of the way, I set to work on an easy job - removing the very sharp flash lines. This is where the gel coat has seeped out of the mould joints such as around the wheel arches, bonnet and boot. These are removed very carefully with a fine file and with fairly course wet or dry (I used P80). Use thick gloves to avoid cuts!

The removal of the flash lines on the body (where the two halves of the mould meet), will be left for another day. This sounds like a much bigger job!

Here are three photos of the initial body rear wheel arch, the arch when filed and then one when cut back with the Dremel.
Look carefully and you can see the sharp flash lines around the wheel arch edge
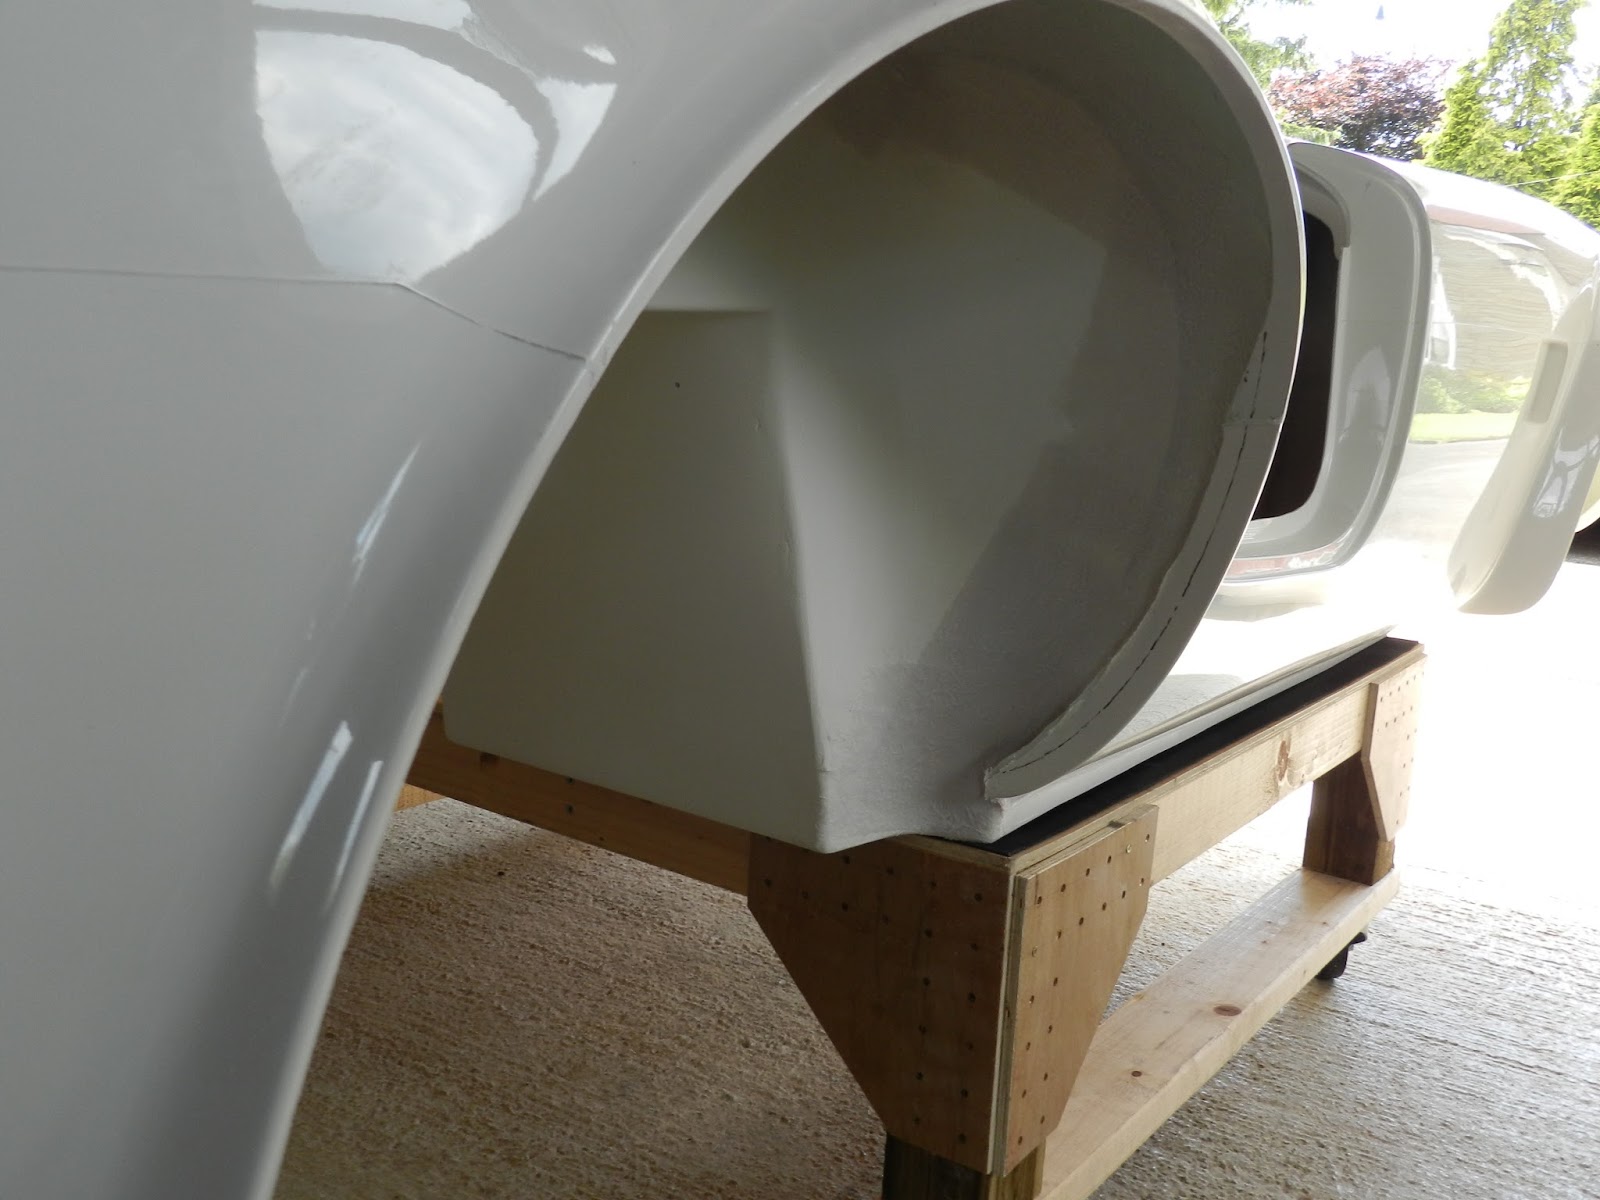
The wheel arch with the sharp flash lines removed by a file and course wet or dry paper
Once the basic prep was done, the wheel arch return was cut back using the Dremel, then rubbed over with wet or dry.

The wheel arch trimmed back - note the consistent width of the return
All sharp edges have now been removed from the body. An easy job, I just needed to take care not to file or rub the polished body!


Wednesday, July 29, 2015

Collected the Cobra body

Meena at GD Sports Cars had sent an email late last week to say that the body was ready for collection, along with the invoice for the parts that I had previously ordered. The bill was paid by bank transfer. Yikes! Have I spent that already?

A phone call to the van hire company and one to Andy at GD and the collection was arranged. I picked up the Mercedes Sprinter Luton (internal body size 13' x 6' 6" (6' rear door)) with a tail lift. I collected the van at the start of business on Wednesday, to avoid a two day rental. Ideally I would have taken it the night before, so that I could get an early start. I arrived at the Practical hire company's office in Ilkley at around 8.45am, where Chris handed over the van and then I set off to collect a body from the GD Sports Cars factory near Newark! Well to be precise, the body for my GD 427 Mk4 (Cobra), plus a few thousand pounds worth of GD parts for the car.

To the Luton van I had added gloves, straps, plenty of sheets and some cheap duvets from ASDA. And of course the camera. I wanted to protect my new toy from any scratches, hence the sheets and duvets - not for me to have a snooze! After a two and a half hour trip, I arrived at the factory and was greeted by the sight of my pure white (colour ref RAL 9010) GD427 Mk4 body. Wow! Excited? I was like a kid on Christmas morning.
The body outside GD Cars
After being welcomed by Andy and Meena and of course being offered a cup of real coffee, the body was loaded in to the Luton, with the help of a few willing hands and the assistance of the van's tail lift.
Body loaded in to the Luton van (that is Andy strapping it in!)
The other parts were checked off and loaded too. I had ordered - lights, hinges, locks, dash board, windscreen, heater, wiring loom etc. In total around a quarter of the cars total cost! Not much spare space in the van, especially once the other parts and plenty of soft packing was added.

While I was there I took the opportunity of picking Andy's brains. I had various questions on the body prep. and the next order. The next order questions mainly surrounded the rolling chassis. However, the immediate points covered the techniques for removing the flash lines and polishing the body.

Then it was a careful drive home, mainly up the A1. The body and parts were unloaded in to the garage, with the help of my wife Carol, Matthew (son in law) and my daughter Sarah, plus of course the youngsters, Cameron and Ava.

Monday, July 20, 2015

Cobra body out of the mould

Jonathan from the Shetlands was at GD Sports Cars on Friday and saw my GD 427 (Cobra) body shell out of the mould. He has a GD 427 ordered too, for delivery later this year. However, Jonathan has chosen to go with a thumping 7 litre LS7 engine. Hope that the roads and neighbours are prepared!

Here are some of the photos he sent me - thanks J - really appreciated.

The body mould after my shell had been released

First look at my new car

Side view of shell

Rear quarter view

Looks good from the photos. I am really excited! Getting close now.