Heater
First the holes were cut to allow air to get to the heater which is located in the nearside compartment under the wing. Five 22mm holes were drilled at equal intervals in the nearside wing air intake. The off side vent is purely for show.
 |
| Holes drilled in air intake |
The heater is fixed in the nearside footwell compartment.
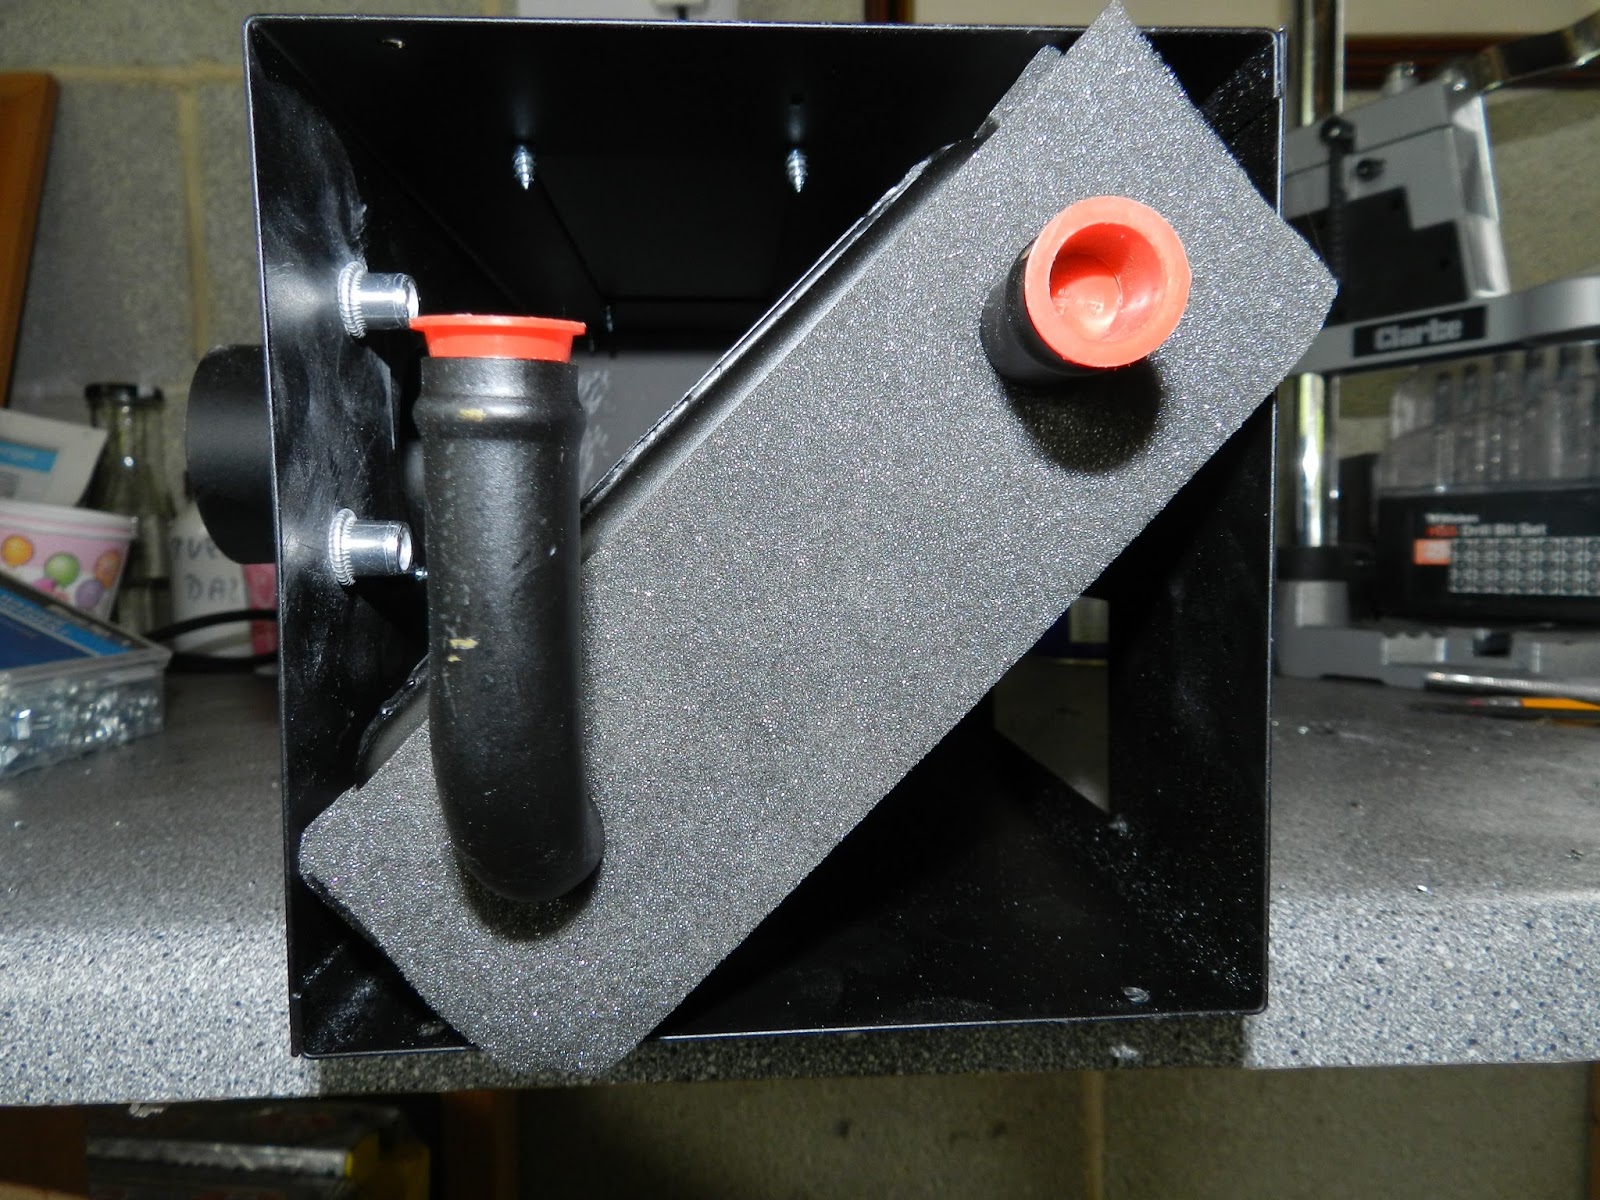
The sides of the heater were removed, and the flanges cut off as they make the heater too wide to install. This is simply a case of removing eight self tapping screws to remove the sides, then cutting off the flanges with a hacksaw and trimming up with a file.
The internals of the heater were removed, before four 6mm rivnuts were installed - the top about 30mm in from the sides, the bottom 20mm from the sides and 5mm above the centre line of the existing screws (see below). This avoids the heater matrix and gives room to fix the bolts in to the heater from the footwell.
 |
| Heater with flanges removed |
 |
| Side view of the heater with the matrix in place and the rivnuts installed |
Now to installing the heater unit. First I measured where the water feed pipes were to go. GD had marked the line up in the engine compartment. The water feed pipe hole positions were marked as were the two main hot air pipes (shown above). The holes were cut - 25mm in diameter and 65mm apart for the feed pipes and the appropriate size holes cut for the hot air pipes. These were opened out a little with a file to allow the pipes to go through to the footwell.
 |
| Hot air pipes in the footwell (the relays have been temporally removed) |
 |
The heater in the nearside compartment ahead of the passenger footwell.
Here you can see three of the five vent holes on the right |
A template of the face of the heater was used to mark up the positions of the rivnuts from the footwell. Now it's just a case of fitting all the pipes and fishtail vents to the scuttle!
Door reveal
You can just about see the marked lines for the cut out behind the door (not sure what these are for!). I drilled a hole at the corner to make the cut neater.
 |
| Cut out marked behind nearside door |
Below you can see the area with the section cut out. I used the flexible extension for the Dremel, as it was a little less bulky than the main drill.
 |
| Area cut out |
Extended footwell
The extended footwell gives you more space for the size 9s. The pedals in the GD are off-set to the right and without the extension it is quite cramped. Beware if fitting the footwell extension though. If I had cut the bulkhead using the extension as a template, the hole would have gone in to the offside compartment under the wheel arch. Luckily I drilled a hole to test and found this out.
 |
| You can see the line that would have cut if I had used the extender, plus the test hole |
Once the hole was cut, I fixed 6 x 5mm rivnuts to the extender to bolt it in place. There is a gap between the extension and the engine bay wall that I will have to deal with.


No comments:
Post a Comment