I had the steering column in my boxes, so I thought it was about time I put it on the car.
There are three parts to the column. The lower section that connects to the rack. The middle section, with the rose joint and the upper Vectra section with the rake adjustment, collapsible mechanism and the electrical connections. At this stage all were fitted just hand tight with the nylocs, bolts and washers supplied
First I fitted the lower section. This was simply a case of removing the nut and bolt from the joint, then sliding over the rack splines and re-fitting the nut and bolt. This was required at each joint.
 |
| Connecting the lower section to the rack |
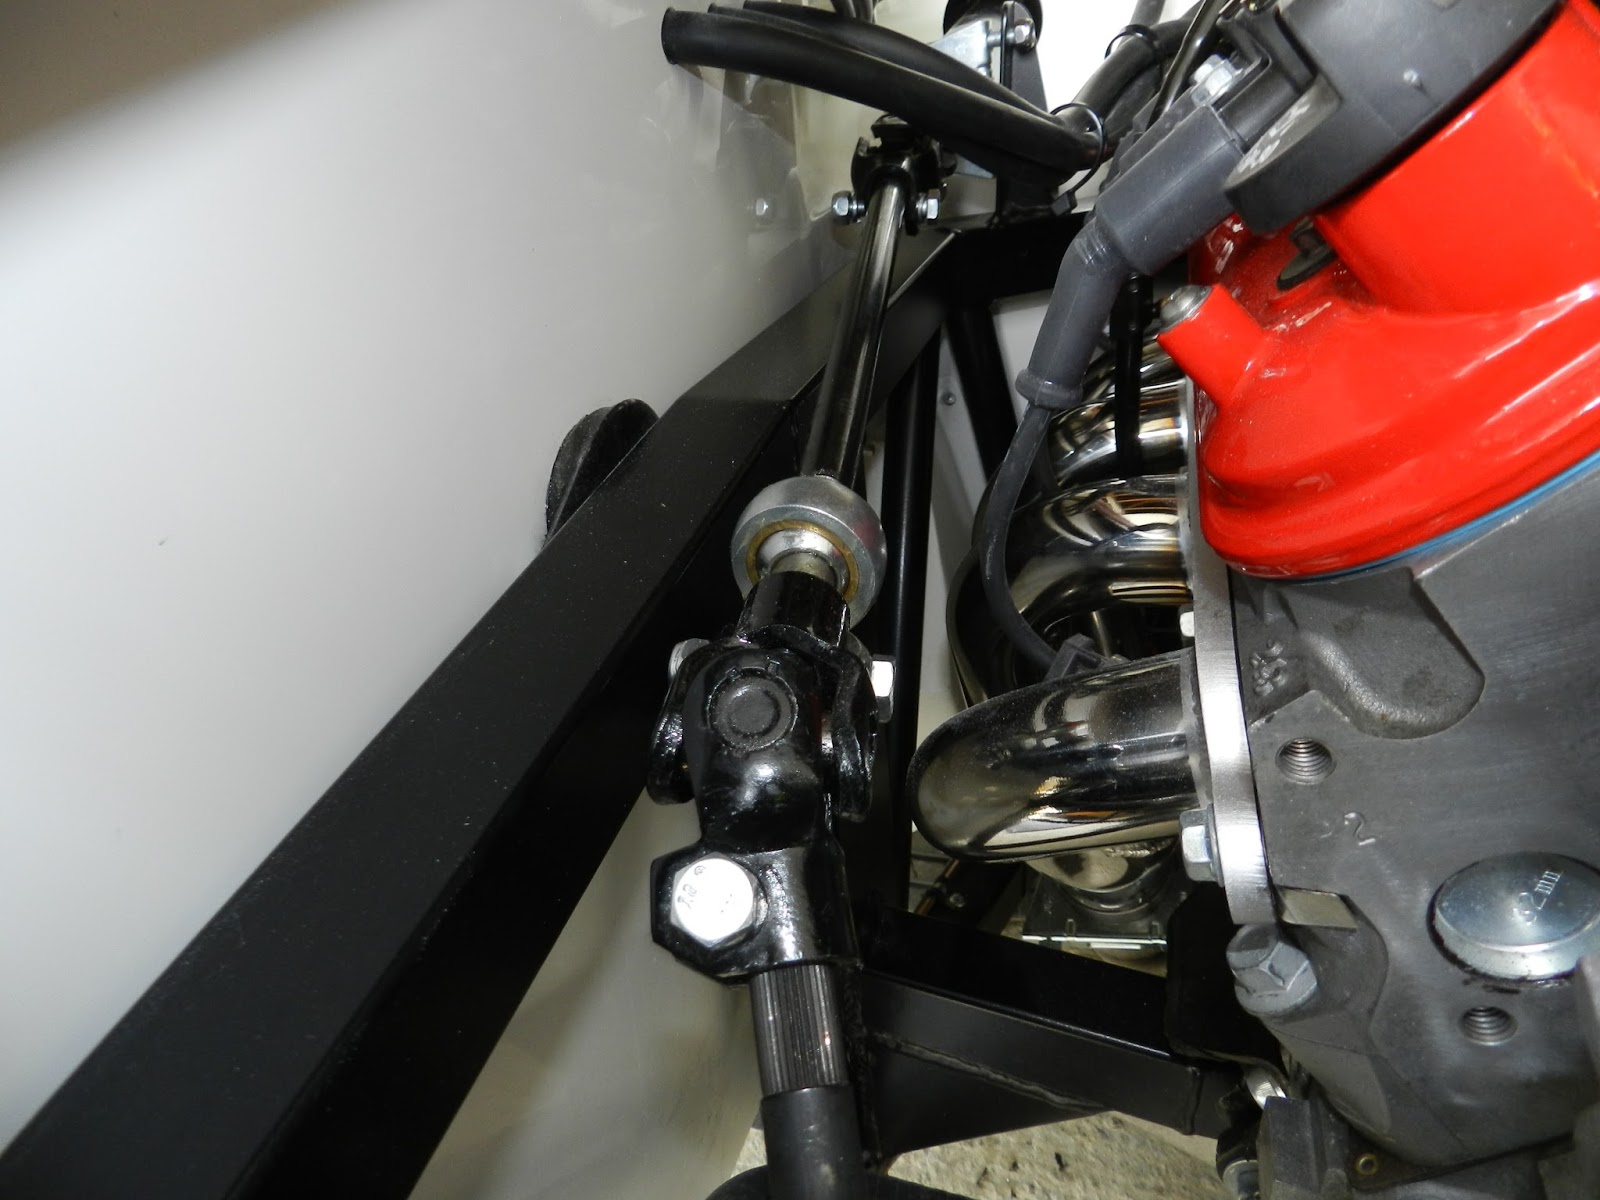
Next, the middle section rose joint was packed with grease and connected to the lower section. The threaded part of the rose joint was mounted on the chassis bracket.
NOTE: See IVA and Post IVA category in the Build Process.
 |
| Middle section connected to lower shaft. Rose joint can be seen here. |
Finally, I fed the upper section through the bulkhead and the locating U-clamp from the passenger compartment and connected this to the middle section. Not forgetting to put the bulkhead grommet in place. Here I had to file the bolt cut out groove on the upper column shaft a little to accommodate the bolt, as the Vectra column has a smaller groove than required. A round file did the trick here.
 |
| Upper column connected to middle section. |
Now I found that the column in the drivers compartment stuck out a little too far, so I could not fit the mounting bolts. This was even with the bolts hand tight in the joints. I suspect that it is simply a case to tapping the steering wheel end of the column to move the inner shaft in to the column assembly, but better check first. Advice has now been requested from Andy at GD!
Once the nuts and bolts are tightened up, I will need to make sure that there are no tight spots when turning the steering wheel. If there are the joints will need moving around the splines.


1 comment:
Great breakdown of how a steering system works and why proper upkeep matters. At Kwik Kar Auto Dallas, we see how timely steering repair can improve safety and extend vehicle life. Regular steering repair is a key part of Auto Repair and Car Repair and maintenance, especially when handled by a trusted Auto Repair Shop. Consistent steering repair combined with quality Auto Care, Automotive Repair Services, and routine Car Maintenance helps avoid bigger issues. A reliable Car Repair Workshop or Vehicle Repair Shop that focuses on Vehicle Repair makes a real difference for drivers.
Post a Comment