
 |
| My Cobra |
As the battery is in the nearside compartment, behind a cover and the front wheel, it is very awkward to get at. To resolve this, I decided to fit a fly-lead to connect to the charger. This will save removing the spinner, the wheel nut cover, jacking up the car, removing the wheel nuts, the wheel and the compartment cover when I need to charge the battery.
This was straight forward and required one hole to be drilled in the engine bay through to the nearside compartment. The wire that came with the charger was fed through in to the battery compartment and will be sealed with silicone and fixed down.
 |
| The charger connector can be seen here |
 |
| Extension wires connected in the battery compartment |
I could have fed the wires through to the passenger foot well and put the connection somewhere in that area, but it would have been more difficult to do and more difficult to get at the connection.
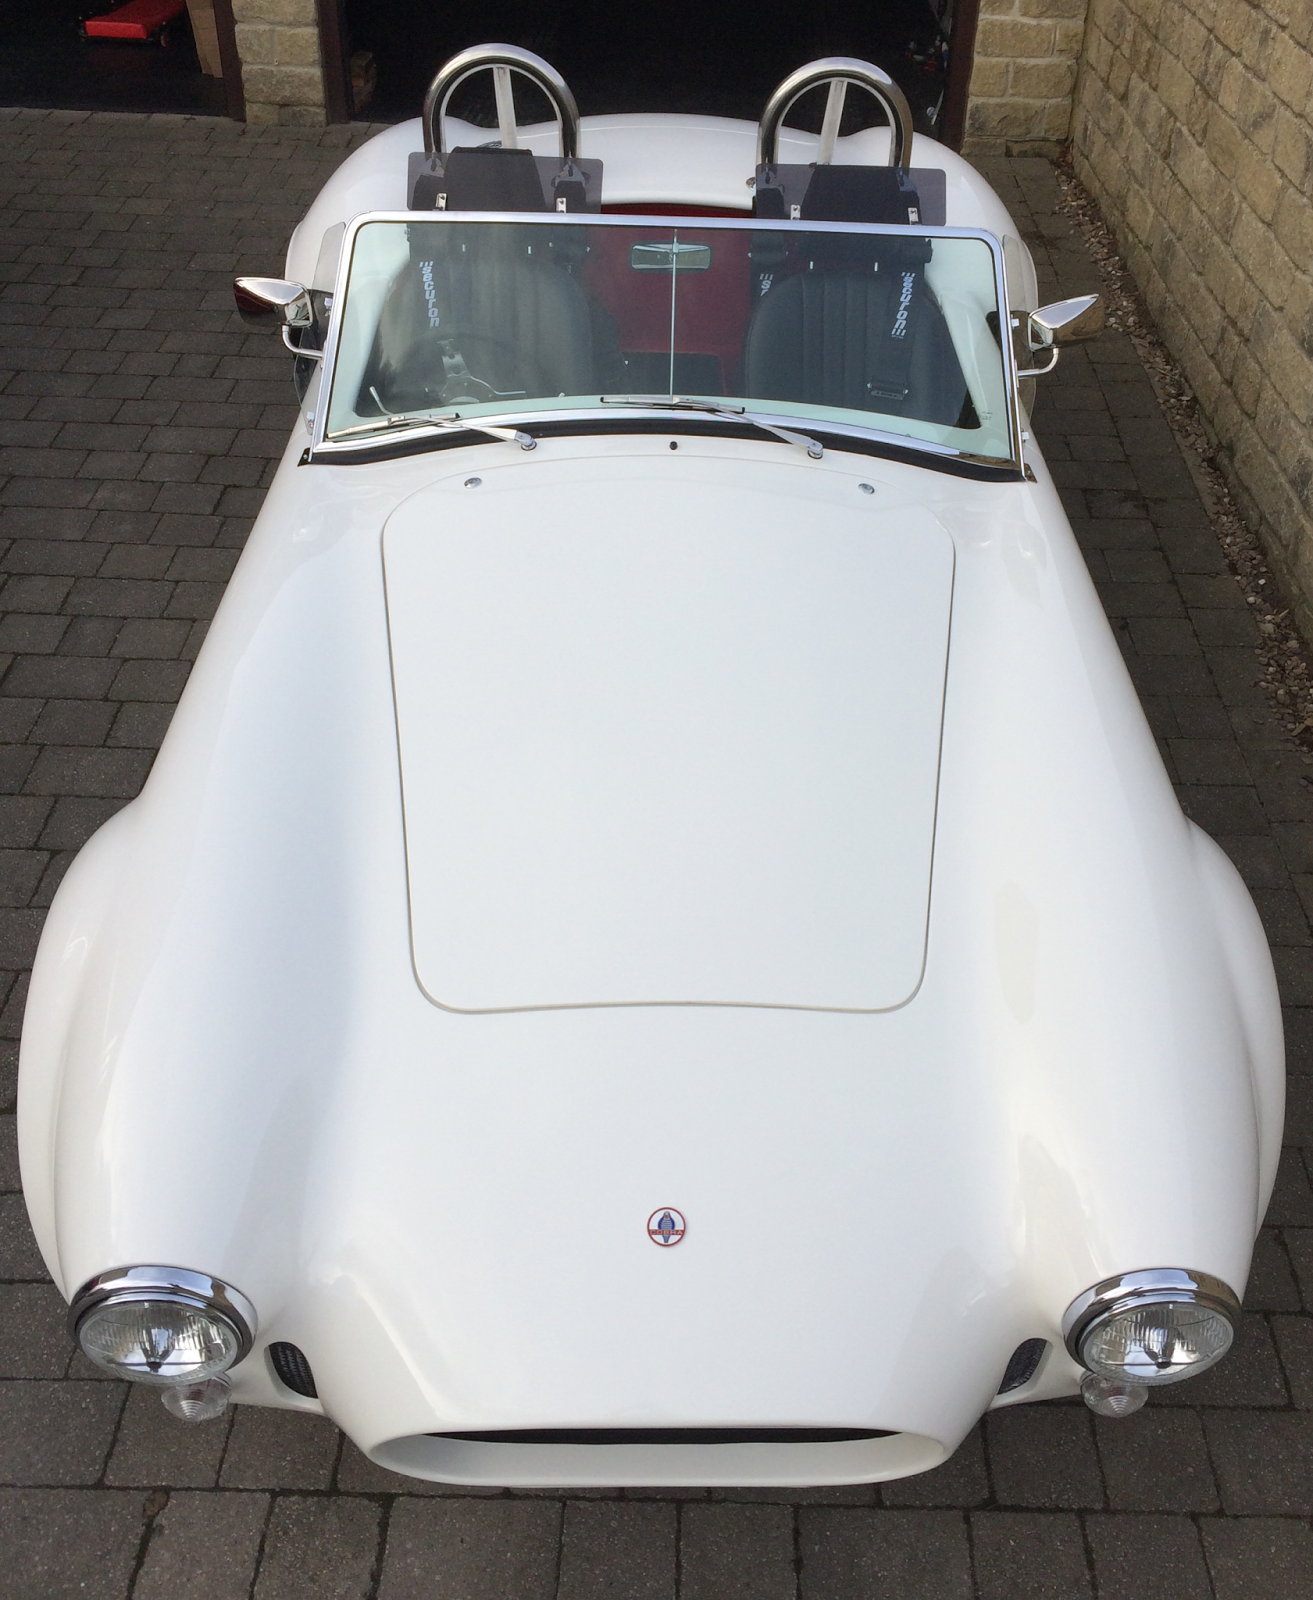
After trawling the internet, I found that the original 427 Cobras had round Cobra snake badges on the nose and boot. Earlier 289 Cobras had an AC badge on the boot and a Cobra badge on the nose. The badge I used was a 45 mm round Cobra snake emblem, which was mounted with clear silicone after roughing up the back.
 |
| Cobra nose cone badge can be seen here |
The same badge was attached to the boot. LS6 badges have been placed above the side vents. The traditional 'Cobra Powered by Ford' badges are not appropriate as it is a Chevy engine.
Immobiliser
The main cable goes from the immobiliser to the ECU. Due to the way that I had oriented the ECU, I could not get at it easily (Andy at GD had similar problems when preparing for the IVA). So to get at the ECU and immobiliser cables I decided to remove the passenger side under dash tray, the tachometer and the speedo! Believe it or not, this is much easier than dropping the dashboard to get access to the rear of the dash. The wires on the tacho and speedo simply unplug on the ETB gauges. The second cable has a white and a black wire which go to a switched ignition and an earth wire. A fly lead for a computer connection will be added at the same time.
On looking at the immobiliser to ECU cable I thought that it was a male 9 pin connection and the instructions said it was a female! It was me ..... the female part refers to the pin holes, so it was a female (Dave from Canems pointed this out - sorry Dave).
 |
| Let it all hang out! The 9 pin male connector (white) can be seen in the left hand hole |
There is a male and female connector on the ECU. One is for the immobiliser and the other for a computer connection.
Next jobs
I don't like the side vents, even after powder coating - they look cheap. I have seen superb vents on Mark's and Noel's Cobras. I am trying to source more appropriate items, so watch this space.
Andy at GD pointed out that the boot gas strut fixing bracket on the body needed strengthening. I am going to do this and whilst I am at it I will get another matching strut to equalise the pressure on the boot lid.
No comments:
Post a Comment