
Had a chat with Andy at GD for any advice. Received some good tips.
Edit: Do fit the loom before you fit the body or at least connect the speed sensor, the reverse light switch and the starter motor. It is so much easier at this stage.
Now I just need to prepare for the day!
Mountings
I couldn't help taking a few photos of the chassis, before it gets covered with the body. This was one of the reasons that I went with Gardner Douglas. The engineering is miles ahead of the competition. No wonder people praise the handling of this car.
 |
| Rear three quarter view of chassis |
 |
| Front three quarters view of chassis |
The rubberised body mountings, where the transmission tunnel splays out, need the top edge grinding to an angle to help the body sit on the chassis. Also I have checked that the mountings are sitting flush with the chassis. The mountings will be lubricated with Vaseline to help jiggle the body in to place.
 |
| Top mounting filed down. Note that this mounting does not have a screw thread |
The mountings were lightly sanded to take off any sharp edges.
 |
| Lightly sanded mounting |
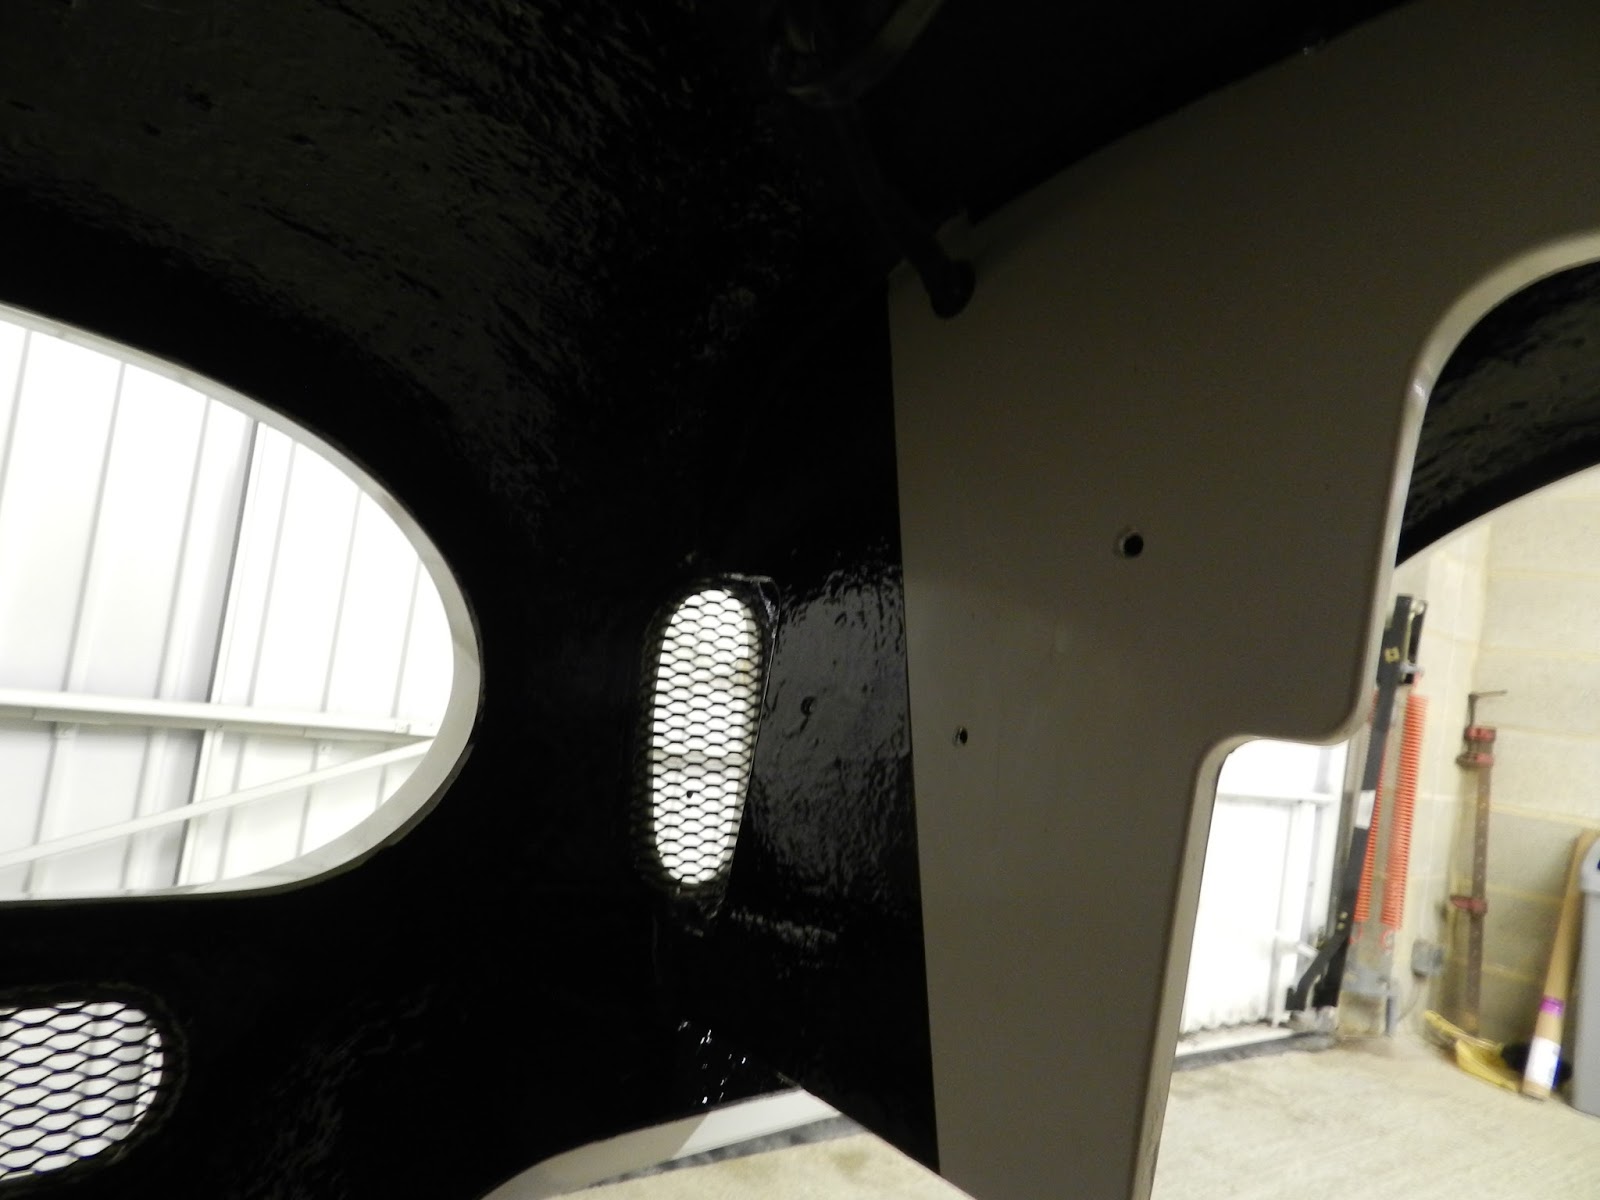
Air intake cut out
The lip and hinge mounting point needs to be shaped to allow the air intake to fit up into it. The area to remove was marked up centrally on the body. The Dremel with a sanding tube came in handy here to grind out the GRP. The air intake was offered up regularly to check the cut out.
 |
| Cut out at front of body |
The inner wings were not undersealed when the wheel arches and nose were done. At that stage I didn't know where the lines should go. I used the mounting holes on the inner wings to determine where to put the masking tape, prior to applying the underseal.
 |
| Final bit of underseal! |
Yes, this is automatic gearbox oil, even though it is a manual! Tremec recommend AQT oil. It is easier to fill the gearbox now than when the body is on.
 |
| Filling the gearbox with AQT |
This needs cutting out in the transmission tunnel, prior to mounting the body. I used the mounting holes as reference points to locate the centre of the gear lever hole. This is towards the nearside, but once the gator and escutcheon is fitted it will look central. Once marked this was cut out using a hole cutter.
 |
| Gear lever hole in transmission tunnel |
The footwell extension was rubbed down, after I had applied some more gel coat to help get a better finish. The fixing screws will need shortening to tidy it up a little.
Horn
The horn wire is on the nearside at the front. Fitting was a case of drilling three holes (the compressor and two trumpets) in the chassis and fitting rivnuts. The brackets were fitted to the rivnuts using button head screws and then the compressor and trumpets were fitted to these brackets.
 |
| Horn fitted to chassis rail |
Now that the reverse and fog lights were fitted, I could fit the piece of carpet at the back of the boot. This went under the striker plate, which was bolted through the floor, before the carpet was glued down (not glued yet). The striker plate does not go down to the floor, so once the carpet was in place I made up some spacers out of the spare aluminium bar that I had used for the radiator.
 |
| Piece of boot carpet at rear fitted - wrong way round! |
 |
| Piece of boot carpet fitted - right way round. |
The reversing light wire on the offside of the gearbox and the loom need connectors attaching. The existing connection on the gearbox was removed first.
 |
| Connections on gearbox for reverse light |
The rubber bung below the reverse lockout on the nearside was cut down and then a plate made to secure it in place.
 |
| Plate securing bung on gearbox |
 |
| One of the surplus vacuum take-offs blocked |
I have been told to remove the radiator frame and, after slackening the lower bolts, tilt the radiator back a little. This will stop the body fouling on the chassis at the front. A bungy helped to hold all this in place.
 |
| Radiator frame removed |
No comments:
Post a Comment